With growing concerns about privacy and the need for secure storage, more people are choosing to build their own private cloud.
Due to the increase in cyber threats, such as ransomware and data breaches, more people want to store their files securely. Trust in online cloud solutions is declining due to privacy issues. Therefore, local storage is being chosen more often.
A private cloud uses a local storage device, such as a Synology NAS, to store data. This gives users full control over who has access to their files and where they are stored. Additionally, it offers a high level of security thanks to features like data encryption, RAID protection, and version control, ensuring files remain protected against both hardware failures and cyberattacks. Unlike public cloud solutions, a private cloud does not rely on external parties, meaning data remains private and is not shared or analyzed.
A Synology NAS makes it easy to set up and manage a private cloud. It allows users to share files securely, set up automatic backups, and access their cloud from any device without compromising security. With tools like Synology Drive and Snapshot Replication, data is not only protected but also kept accessible, even in the event of an error or attack.
By choosing a private cloud with a NAS, users gain not only more privacy but also the peace of mind that their data is secure and fully under their control.
What Do You Need to get Started?
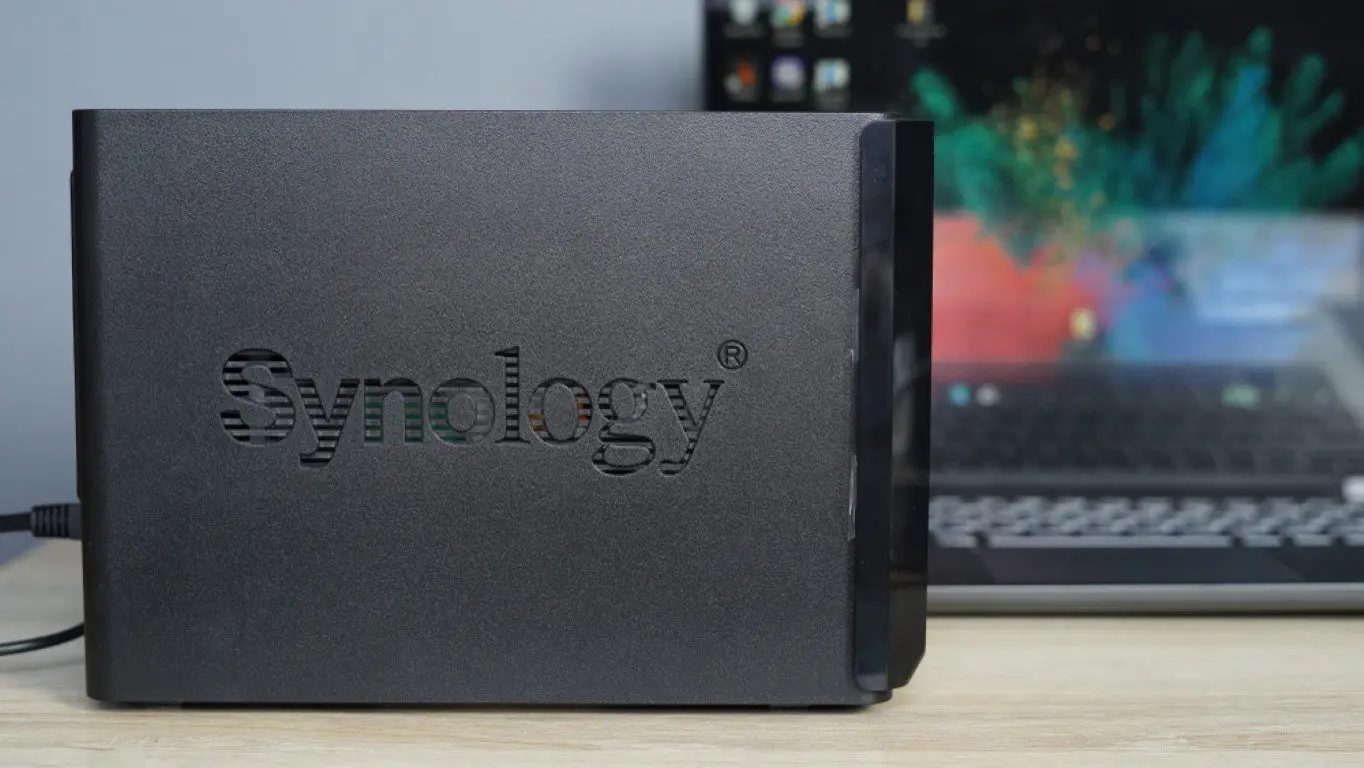
A Synology NAS (for example, the Synology DiskStation DS224+, here and here for sale) and one or more hard drives (check compatibility on the Synology website). To use the NAS correctly, you need a computer with a stable internet connection. A Synology account is required for managing the NAS. (free to create via the Synology website).
-
Step 1: Hardware Installation and Starting up your NAS
To begin, insert the hard drives into the Synology NAS according to the manual. Then connect the NAS to your router via an ethernet cable. Plug the NAS into a power source and turn it on. -
Step 2: Install and Configure DiskStation Manager (DSM)
Open a browser on your computer and go to find.synology.com. Then select your NAS and follow the installation instructions. Once the NAS is correctly installed, download and install the latest version of DSM. Next, create an administrator account and set your preferences (such as language and time zone). -
Step 3: Create and Manage Shared Folders
The installation is complete. Now you can create folders: to do this, log in to DSM. Go to Shared Folder in File Management. Click on Create and give the folder a clear name (for example, “Documents”). Then set the access rights for users and groups. -
Step 4: Install and Configure Synology Drive for Synchronization
Open the Package Center in DSM, search for Synology Drive Server, and install it. Open the application and configure your private cloud: go to Synology Drive Admin Console and set up the synchronization rules and access rights. Then download the Synology Drive Client on your computer and/or smartphone to synchronize files. -
Step 5: Secure your Private Cloud
How do you optimally secure your cloud? First, enable HTTPS for optimal protection. Go to Control Panel> Security> Certificate. Add a certificate (for example, via Let’s Encrypt). Then set up two-factor authentication (2FA) at User> Account Security. Follow the steps there to activate 2FA. Finally, it is recommended to make regular backups. Synology’s Hyper Backup is recommended for this. It allows you to make backups to an external hard drive or another cloud service. -
Step 6: Set up External Access for your Cloud
Go to Control Panel> QuickConnect to enable QuickConnect with a unique ID. As the name suggests, it allows you to quickly and easily connect to your cloud server. -
Step 7: Use Mobile Apps for Access on the Go
Synology offers various apps like DS File and Synology Drive for mobile devices. Download these via the App Store or Google Play and connect them to your NAS. Once these steps are completed, you have set up a secure private cloud where your files are protected against cyber threats. You manage your data locally, retaining control over storage and access. Access to your files is secured through features like two-step verification, encrypted connections, and the ability to manage access rights.
Build a Secure and Reliable Private Cloud with Synology
With a Synology NAS, you create a secure and powerful private cloud that seamlessly meets modern needs. As digital threats continue to grow and privacy becomes increasingly crucial, this solution offers a reliable way to manage data without compromising on security or accessibility.
A Synology NAS centralizes your data and makes it easy to create shared folders, set up automatic backups, and share files within a secure environment. Thanks to advanced features like data encryption and version control, you keep your files organized, protected, and always within reach.
The benefits are clear: a secure, scalable, and professional storage solution that gives you full control over your data. Perfect for those who demand high efficiency and reliability. Your data, your management, always and everywhere accessible.