The Snipping Tool is used to take screenshots in Windows 11 with the shortcut Windows key + Shift + S. In Windows 11, you can also use it to make recordings.
Windows 11 has a built-in tool for taking screenshots, called Snipping Tool. Recently, you can also record videos with this tool. We explain how to do it.
If you don’t see a camera icon in the toolbar at the top after starting the tool, you may need to install the latest version via the Microsoft Store and remove the current one. You can do this through the advanced app settings in the Windows Control Panel.
-
Open the Snipping Tool
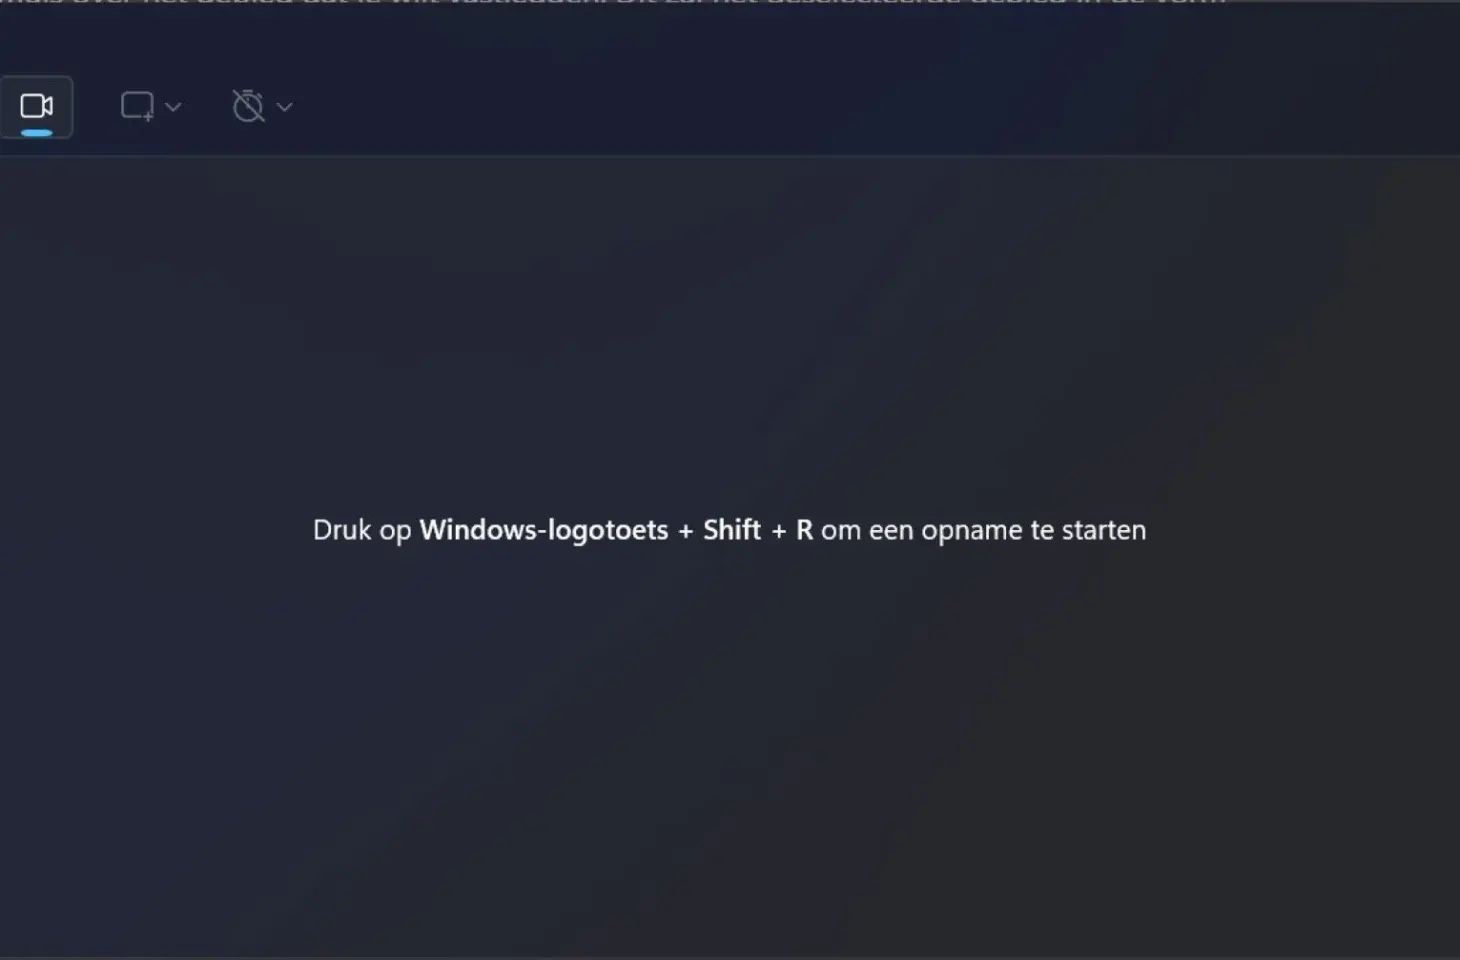
Use the shortcut Windows key + Shift + R to go directly to the recording function. Or search for Snipping Tool in the Start menu and open the application.
-
Use the Recording Function
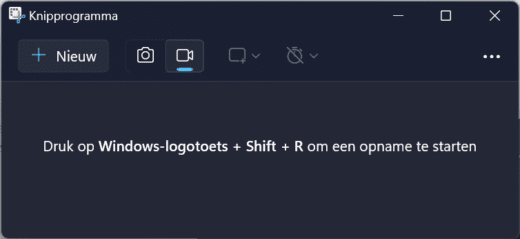 Click on the film camera icon to switch the mode from screenshot to screencast. In the app, start the recording with the shortcut Windows + Shift + R.
 -
Select the Recording Area
 Drag with your mouse to select the desired area: a full window or a specific part of your screen
 -
Start Recording
Click the Start button. The tool will then count down from three to zero, after which the recording begins. During the recording, you have the option to pause, stop, or toggle microphone and/or system sounds on or off. After ending the recording, save it via Save.

