Have you accidentally deleted a file from Google Drive? Then it’s not immediately lost. There are several ways to restore files.
It happens to everyone at some point: you’re doing a major cleanup in Google Drive and, in all your zeal, you delete a file that you actually turn out to need. It’s annoying when it happens to a personal document, but absolutely disastrous if you send an important spreadsheet with company data to the trash. Fortunately, Google gives you time to correct your mistake.
In this how-to, we show you various ways to restore deleted files in Google Drive. The method depends on how quickly you react and what permissions your account has.
-
Step 1: Immediate recovery
You delete a file from Google Drive by opening the action window on a file and selecting Move to trash . Deleted the wrong file? Immediately after deleting, you still have the opportunity to undo that action. If you’re faster than your shadow, you can save the file from the trash by clicking Undo and it will be as if nothing happened.
-
Step 2: Restore from trash
Don’t worry if you didn’t catch it in time: Google Drive keeps deleted files for another thirty days . They are in the trash. Find your file and open the action window. Now, whatever you do, do not select Delete forever, because then you will lose the file. The button Restore puts it back in its original location.

-
Step 3: Ask Google for help
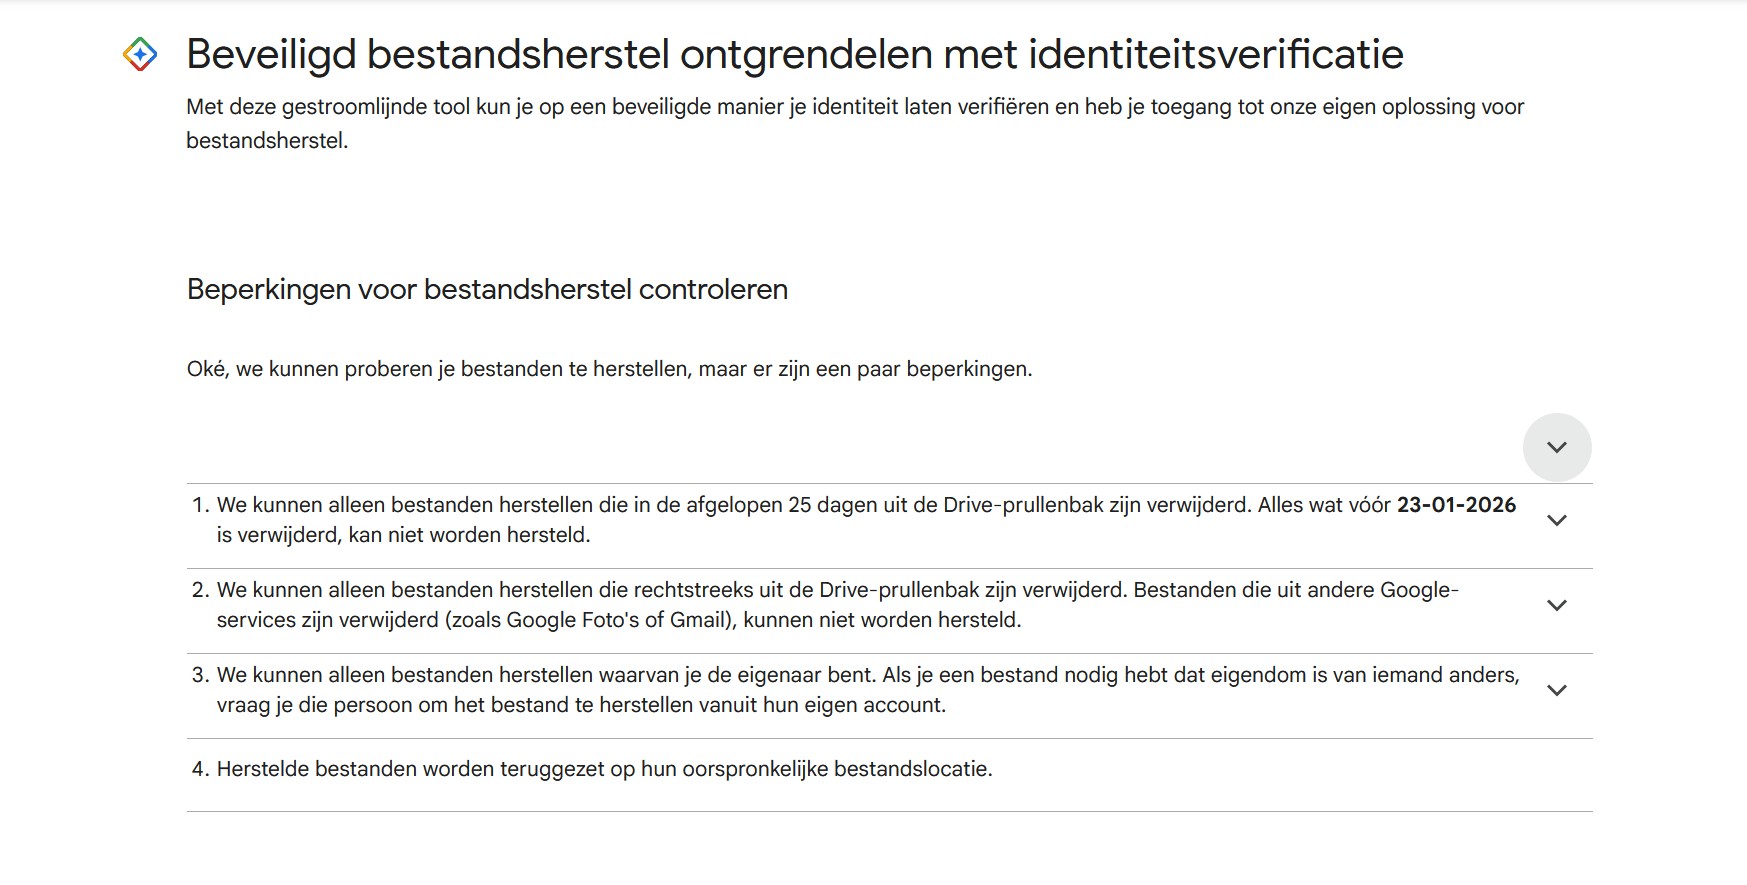
Did you make a mistake again? Then recovery becomes a lot more complex and you will have to ask higher powers for help. In this context, that doesn’t mean lighting a candle in church, but submitting a recovery request to Google. Through the Google Drive help page, you will find the option Request file recovery.
Fill out the form, after which Google will let you know by email if it was able to recover your file. This option is only possible for files that were deleted directly from Google Drive no more than 25 days ago.
-
Step 4: Admin console
This method only works for business Workspace accounts. The account administrator has the ability to restore files. Go to the user panel and select the user in question. Now click on Restore data and set how far back in time you want to go. Google Drive again applies a limit of 25 days.
-
Step 5: Account recovery
If you delete your Google account, you also delete all your files in one go. However, Google still gives you 20 days to (temporarily) restore the account. Log in again and answer the questions to prove that you were the former owner of the account. Once the account is restored, you will regain access to Drive.
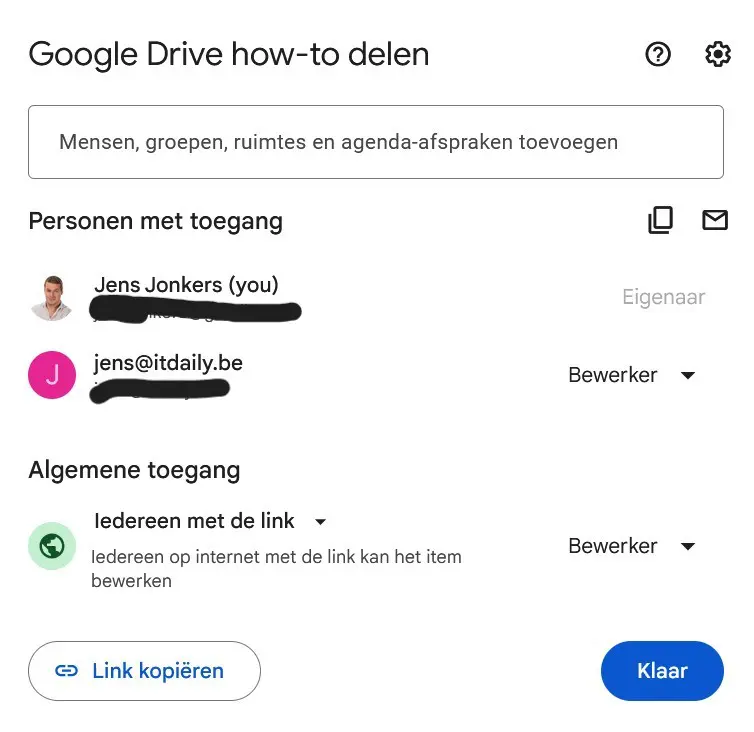
Open the file you want to take with you and click Share. Enter the email address you want to share the file with, for example your new email address. Now you can transfer ownership of the file, provided that person is also within the same Workspace environment.
-
Step 6: Create a backup with Google Takeout
You can never have enough backups: even for files stored in the cloud. This way, you always have a version on hand if you accidentally delete a file. There are countless ways to back up Drive files, but here we show you a rather unknown tool within the Google ecosystem: Takeout.
In the long list of Google applications (bonus points if you know them all), select which data you want to back up. If you don’t want to copy everything, select under Formats and All Drive data included which files/file types you want to take to the next step.

-
Step 7: Export Google Drive
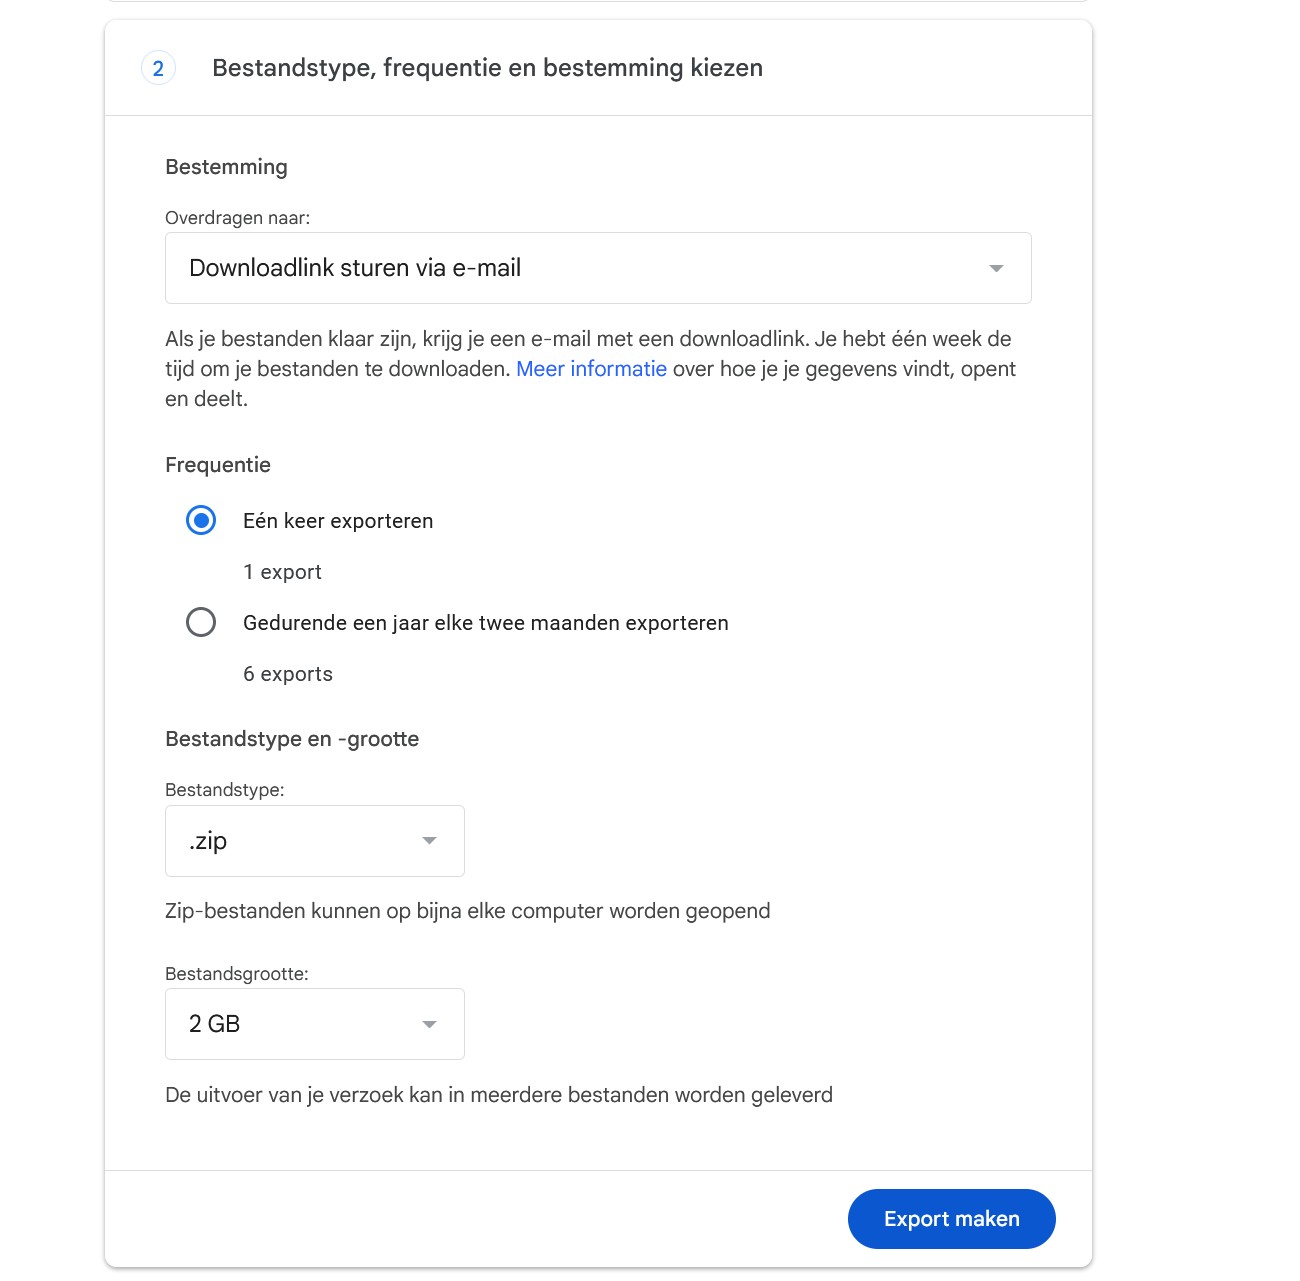
Next, you set what the export should look like: do you want to receive a folder by email or transfer it to another cloud service (Dropbox, OneDrive), and do you want to make a one-time or regular backup? Completing the export can take anywhere from a few hours to even days, depending on your settings.
The device used for this manual is set in Dutch. The text has been automatically translated. The exact name of settings may differ on your device.