Are you in need of structure? Microsoft Lists provides a convenient channel to create to-do lists and organize tasks with colleagues.
Project management is a crucial skill for any employee. There are countless applications that help you organize tasks and deadlines for yourself and structure projects within teams. Applications such as Asana and Todoist are well-known, but did you know that Microsoft also has its own task planner?
Microsoft Lists is included in your 365 subscription, yet this application is still often overlooked. The biggest advantage of Lists is its seamless integration with other Microsoft applications. This makes it very easy to collaborate on projects to colleagues without requiring them to install the same application.
Is your New Year’s resolution to work more organized? We’ll walk you through Microsoft Lists.
-
Step 1: Create new list
Microsoft Lists is available as a Web application within the Sharepoint environment of your personal or work account. Log yourself in via your Microsoft account. Click on Create new list to get started. You can choose from a diverse palette of pre-made templates, from event templates to onboarding, expense and recipe books.
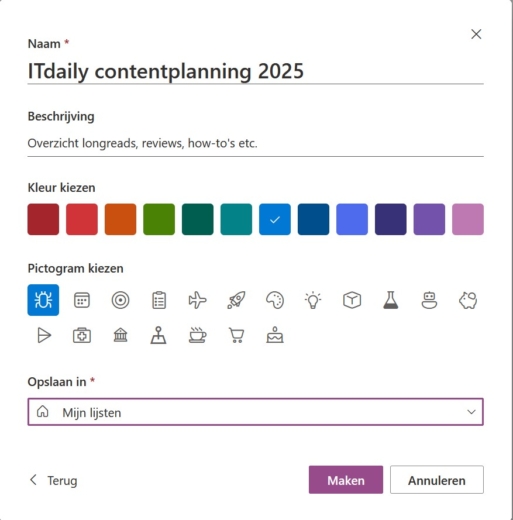
Via Empty list create your own template. Give the list a name, short description, a color and an icon. Now you have an empty list. Add with Add new item Add tasks to the list.
-
Step 2: Add columns
Then add additional Columns to allow you to assign items to people, set deadlines and display project status, among other things. You can add as many columns as a project requires. For each column, you can further customize the settings and set default values, among other things. The screenshot below shows what a Microsoft Lists list might look like.
-
Step 4: Collaboration
Are you working with colleagues on a project? In Lists, you can easily add additional people to your list. You can do this in two ways. Create a column People on, then you can assign items in a list to people within your organization. With the Share send people an invitation link to view and edit the list with you.
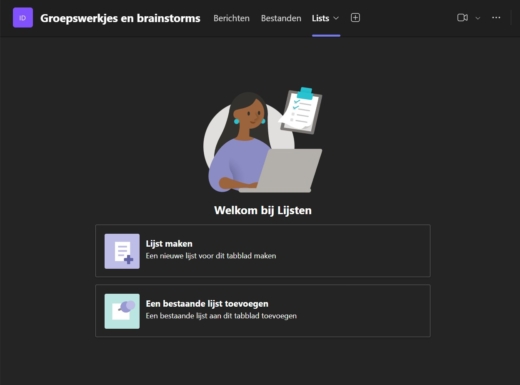
Because Lists is part of Microsoft 365, you can create shared lists directly in Teams. Add via Apps Add Lists to Teams and select a channel. Lists is now added as an additional tab to the selected channel.
-
Step 5 Be warned
Want to be notified when something changes on your list? Then set up an alert. Click on Warn me (the bell icon) and determine what for Lists you may send an alert and how (e-mail or text message). Alerts can be sent out for modifying existing line items, adding new items or random changes. You can choose to receive notifications immediately or receive a daily/weekly summary.
-
Step 6: Importing and exporting
You don’t always have to start from scratch in Lists. The app also offers the ability to turn Excel files into lists. Click again on Create a new list and select From Excel. Je kan nu in OneDrive speuren naar het bestand dat je wil uploaden naar Lists.
The Excel file should contain tables. If it does not, you will need to create the tables manually first. Select the cells you want to include (in Excel) and click on Formatting as a table. Klik op Renew (in Lists) to upload the table. You can now further transform it into a task list.
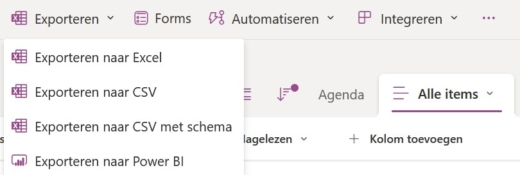
The integration between Lists and Excel also works in the opposite direction. Via Export can download your lists as an Excel or CSV file. Exporting to Power BI is also possible.


